Installing LED strip lights inside your pool can make swimming at night more enjoyable. However, finding the best way to evenly light the whole space can be tricky. But the process isn’t complicated as you may think.
So, how to install swimming pool LED strip lights the right way? In this post, you get to know simple steps that will make the whole process of installing the lights easy and comfortable. Follow the steps carefully and create a fun-filled environment around your swimming pool.
Table of Contents
Why do people choose LED strip lights for their swimming pool lighting?
When it comes to lighting their swimming pool, people mainly use LED strip lights for several reasons. Here are the reasons that make people choose LED strip lights for lighting the swimming pool.
1. LEDs are colorful
Whenever you are planning to buy LED strip lights for swimming pool lighting, most of them are available in a wide range of designs and colors. As such, it gives you a variety of items to choose from.
2. LEDs are bright
LEDs are designed to deliver the best lighting. They have great lens geometry and reflector design. As a result, LEDs have better wide angles. Besides, they increase the color effects and intensity that are required to make the swimming pool look amazing.
3. LEDs are efficient
In general, LEDs consume about 10% power compared to incandescent lights. Also, they deliver more lumens on average.
4. LEDs have a long life
Typically, LEDs are meant to last for up to 50,000 hours. It means, LED lights can work efficiently for about 5.7 years.
Installing LED strip light the right way in your swimming pool
Follow these nine simple steps and you can have great lighting in your swimming pool.
Step 1
The first step involves measuring the diameter of your swimming pool before buying the LED strip light. Also, you need to find the right distance between the power source and sides of the pool where you need to install the lights.
The right distance will help you determine the length of the wire and how much power the amplifiers will need. Besides, make sure to calculate any turns or dips throughout the path. You need to calculate all these things beforehand to avoid confusion later.
Next, evaluate the controller’s distance from where the LED strip lights will start. To connect the first and second strip lights to the amplifiers, you need two separate portions of the cable.
Step 2
Make sure the swimming pool is empty when you are about to install the LED strip lights. A circuit interrupter has to be mounted between the power sources. Keep in mind to use a GFCI safe circuit. That way, it will shut down the flow of current when not in use.
Step 3
Next, connect the LED controller to the power source. Disconnect the barrel from the wiring of the controller. After that, you have to strip the other wires and connect them to the power source.
Step 4
The next step involves cutting off the last portion of the controller from the LC2 connector. After that, you have to strip the wires back. Be careful with the cables because they are color-coded to make your job a bit easier.
Hence, when you join each of the similar-colored cables, it’s time to connect the first two strip lights to the controller. Remember that you should have 4 wires of each color connected.
Step 5
While doing the task, you have to make sure that the strips remain in the same place when moving forward. Therefore, to keep the strips in the right place, you can use mounting clips. Also, you can use these clips if you have a flat surface.
However, you have to drill small holes in the trusses when installing the LED strips underneath the swimming pool bottom. Add cable ties to anchor the LED strips to the trusses. Furthermore, if you want to avoid drilling holes, use cotter pins or speed nuts for strip anchoring. This is the best way to do the join effectively.
Step 6
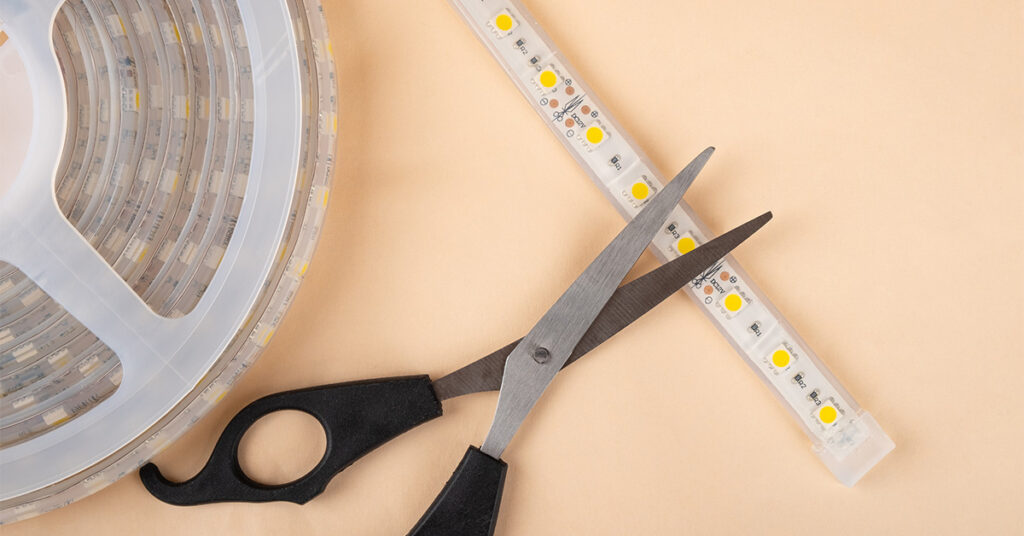
The following step includes attaching them to the amplifiers that are present on both sides of the pool after installing the first and second strips. Cut off the silicone cap at the strip’s end by using something sharp. However, be careful not to cut the conductive traces inside the LED strips.
Use silicone to fill the cap and reseal the LED strip lights. Place it on the end of the strip. Moreover, to make it waterproof, don’t forget to cover the exposed conductive traces. Double-check whether the task is done effectively.
Step 7
This step involves installing the amplifier after the new end wires get connected with the strip. And, you need to install the amplifier somewhere in the middle of strips 1 and 3. For that, you need a 3M double-sided adhesive panel. For best results, apply 3M adhesive to the amplifier.
Step 8
In this step, you have to join every similar colored wire on strip 1 with the same code on the other end of the amplifier. Make sure to use a dolphin connector. Repeat the same step when you are about to attach the other side of the amplifier for strip 3.
The black strip wire should be connected with the white wire of the amplifier. For connecting LED strip 2 and strip 4 to the amplifier located on the opposite side of the swimming pool, follow these steps.
Step 9
The final phase involves connecting the amplifiers to the power source. And, it is done through dolphin connectors and great wire. Now, plug the attached cord into an outlet to enjoy the pool lighting system.
Fill the pool with water. However, don’t forget to leave a space between the LED lights and the waterline.
Conclusion
LED strip lights for the swimming pool make swimming at night convenient and safe. Besides, it improves visibility and makes it easier for people to see around themselves. Nighttime swimming is a unique experience and you tend to enjoy every bit of it.

